Set up your store in about ten minutes
You are about ten minutes away from a store your guests can actually buy from. This guide walks you from a fresh account to a published store link, in the same order the dashboard does: sign in, connect Stripe, create your property, add a few extras, publish, and share the link. Your guests never need an app or an account - they open your link, pick what they fancy, and pay. The money lands in your own Stripe account.
Grab your property photos and your bank details for Stripe, and let's go.
1. Sign in
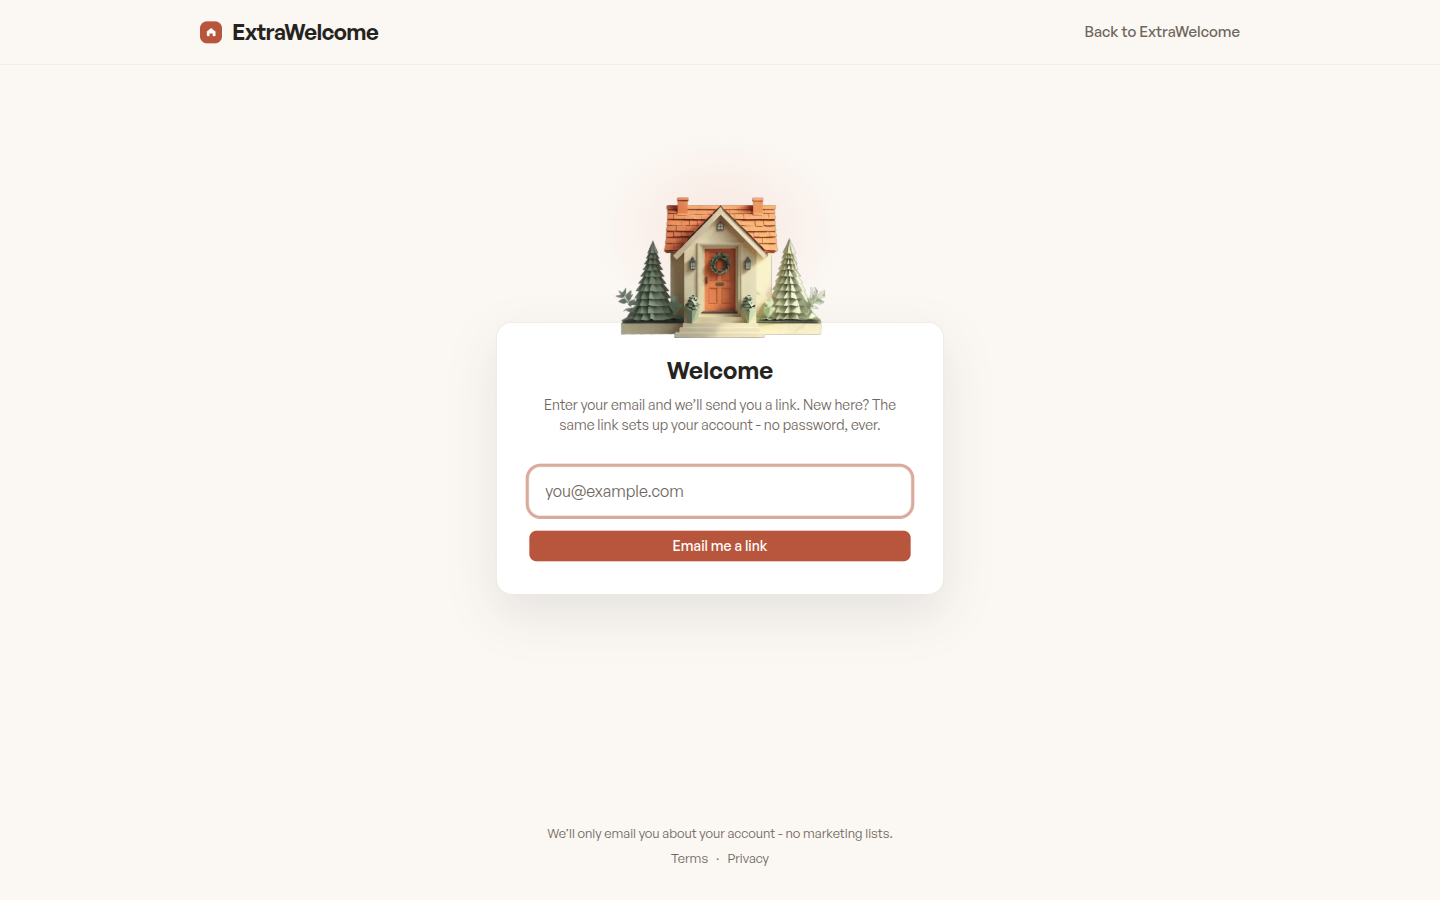
There is no password to remember. Enter your email and we send you a sign-in link - if you are new, the same link creates your account too. Click it and you are in. The link works for an hour, so there is no need to rush.
If it does not land within a minute or two, check your spam folder - the screen you land on after submitting also offers a resend, with a short cooldown between tries.
2. Connect Stripe
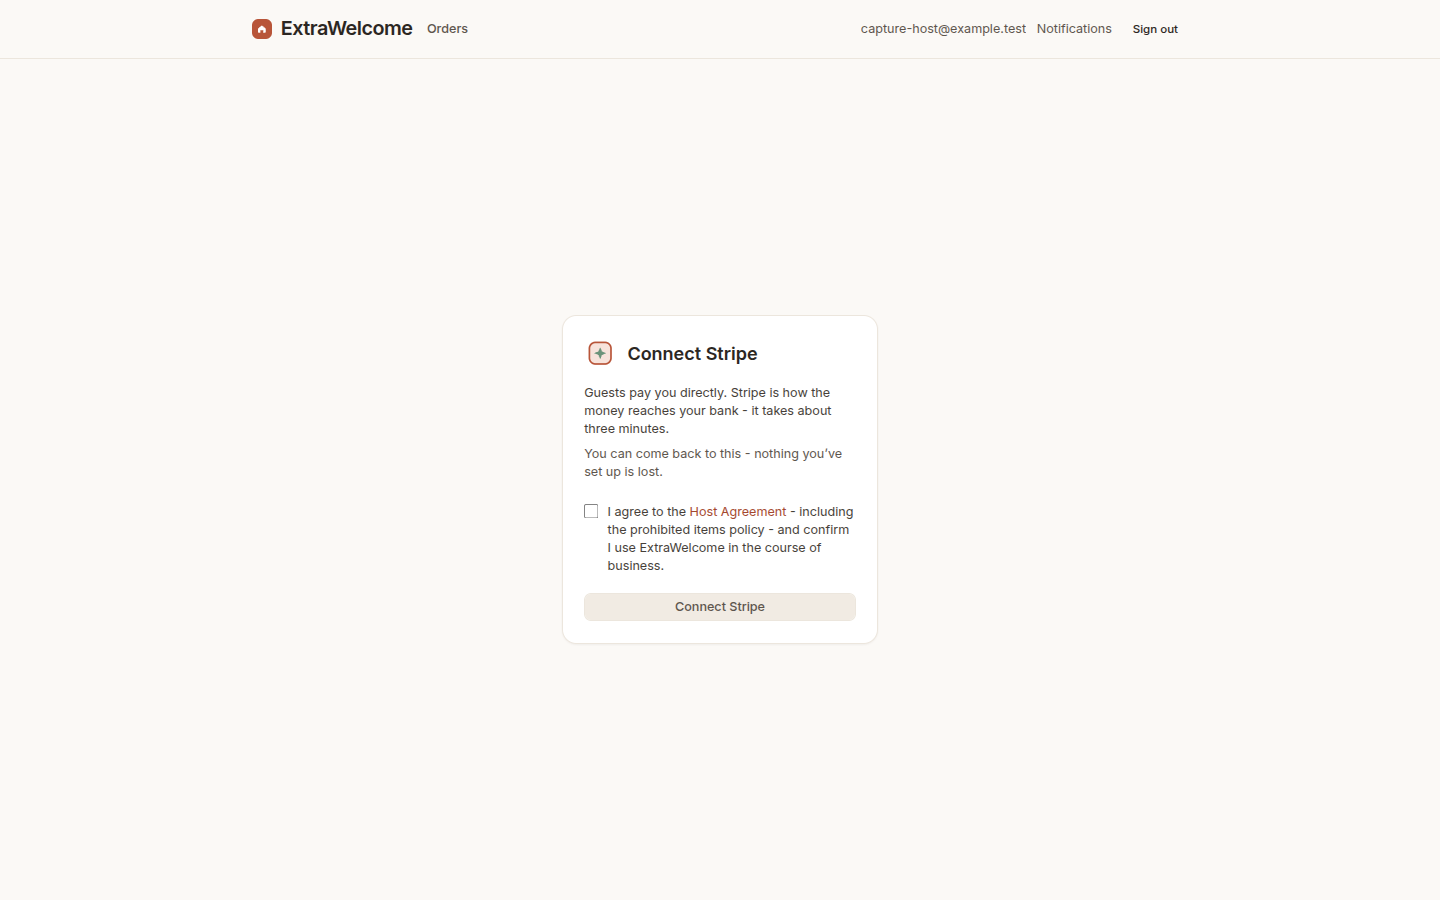
Payments run through your own Stripe account, so the next step is connecting one. Stripe asks for the usual details it needs to verify any business - your bank account, some basic identity checks - and it does this on its own secure pages, not ours.
This can take a few minutes or a couple of days, depending on what Stripe needs to confirm. You can safely close the tab and come back later - if your checks are still in progress, we pick up exactly where you left off and show you what is still outstanding. Payments cannot go live for your store until Stripe finishes its checks, so it is worth starting this step early.
3. Create your property
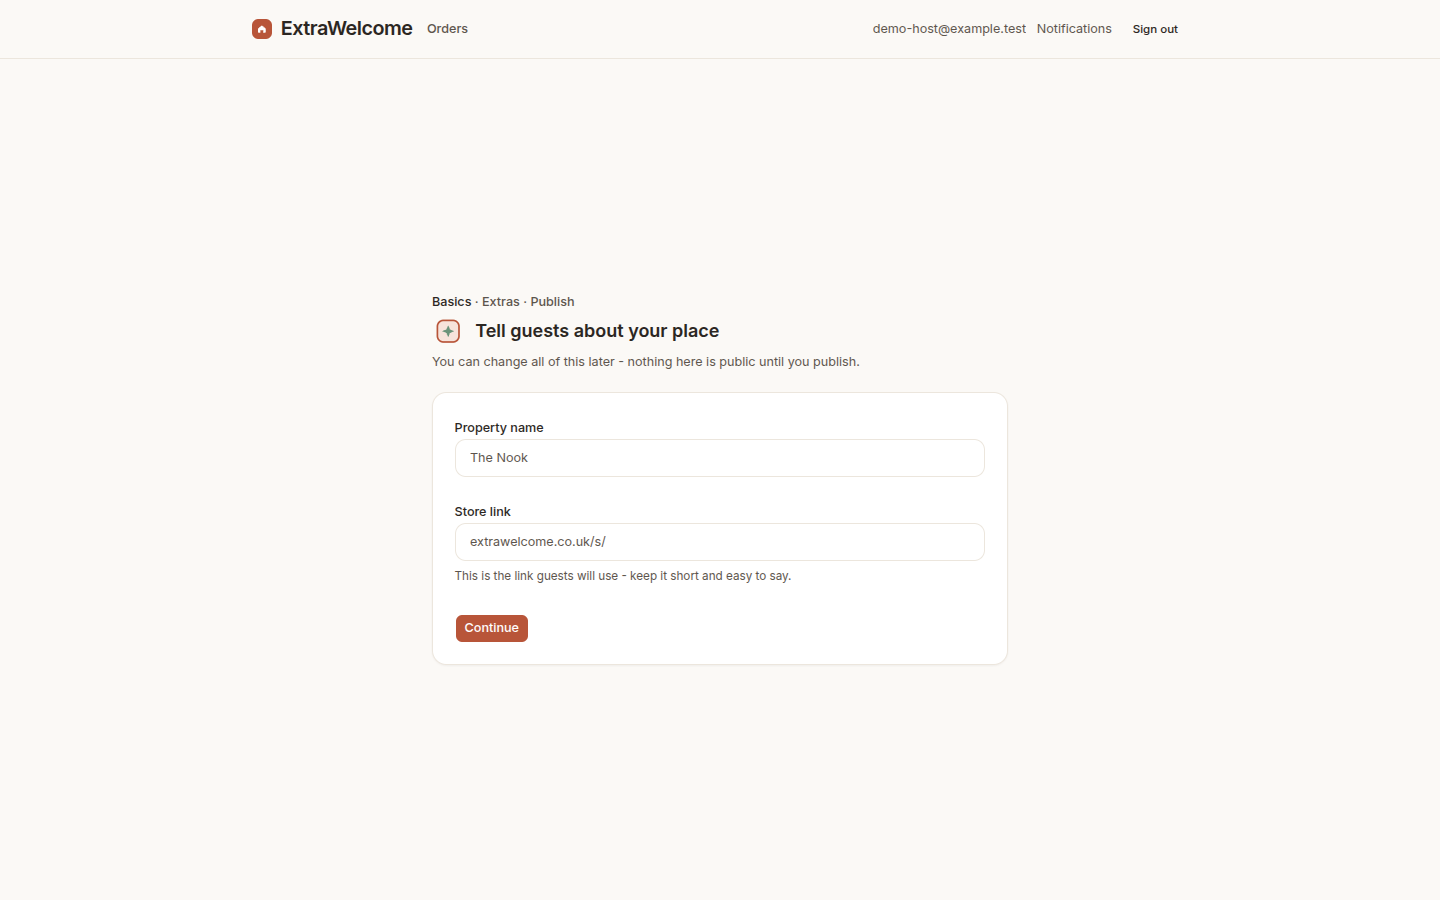
Give your property a name, set your check-in and check-out times, and add a short welcome message - this is what your guests see first. You can also pick an accent colour and add a host note, and upload a hero photo (a brand placeholder is used until you do).
4. Add extras from the library
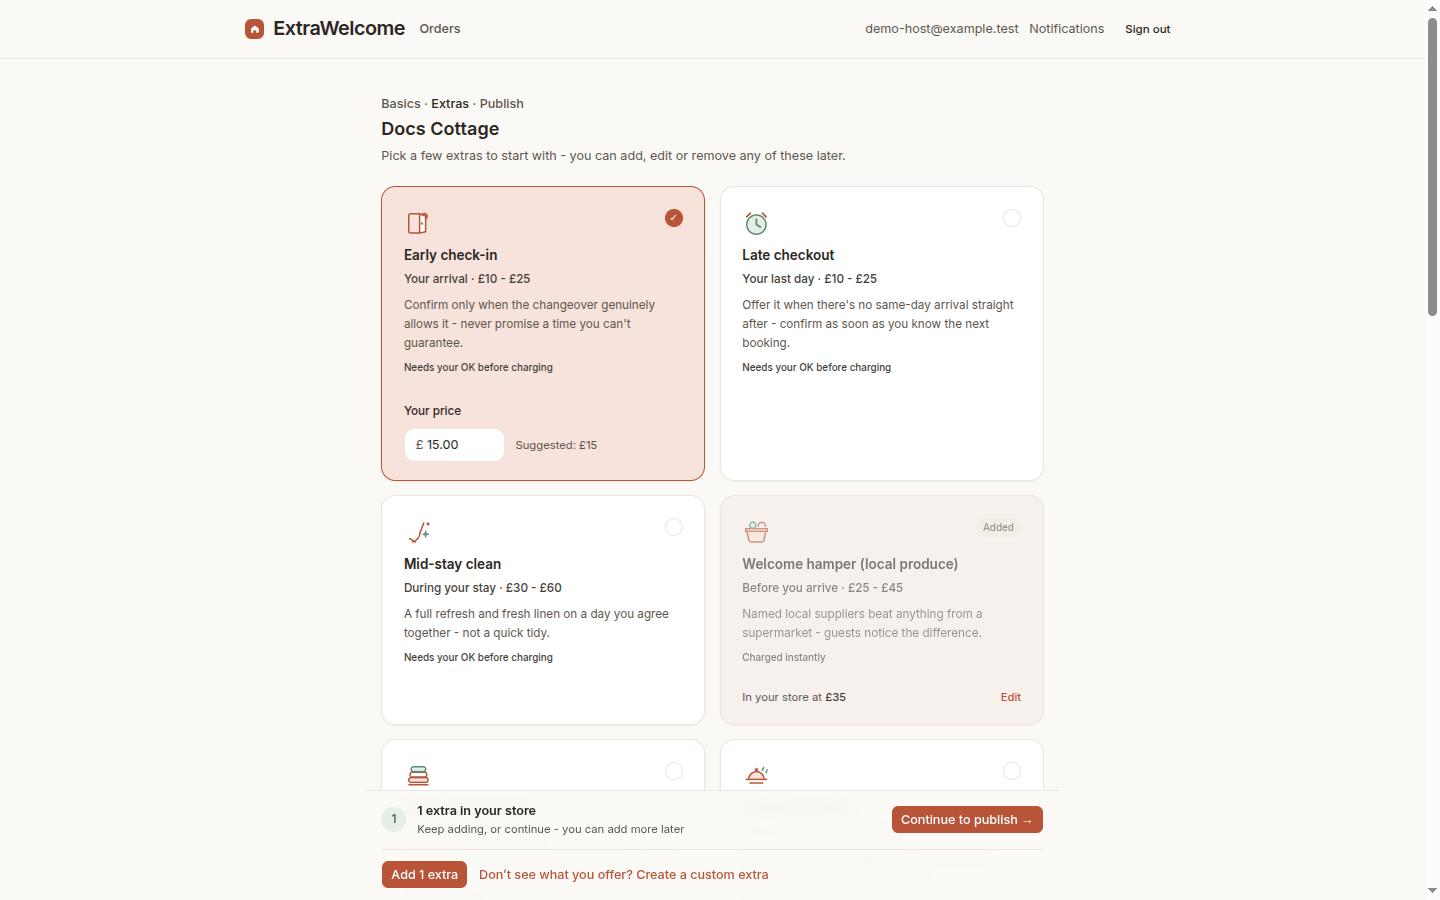
Pick three or four extras from the template library to start - early check-in, late checkout, a welcome hamper, a mid-stay clean. Each template comes with a benchmarked price range and a suggested price so you are not guessing - selecting a card reveals a price field right there, so you set your own price as you pick. Lead time, options and whether an extra needs your approval can be fine-tuned any time from its edit page.
Approval is on by default for anything time-sensitive, like early check-in - that keeps you in control of your calendar. You can turn it off for extras that never conflict with anything, like a welcome hamper.
5. Publish and preview
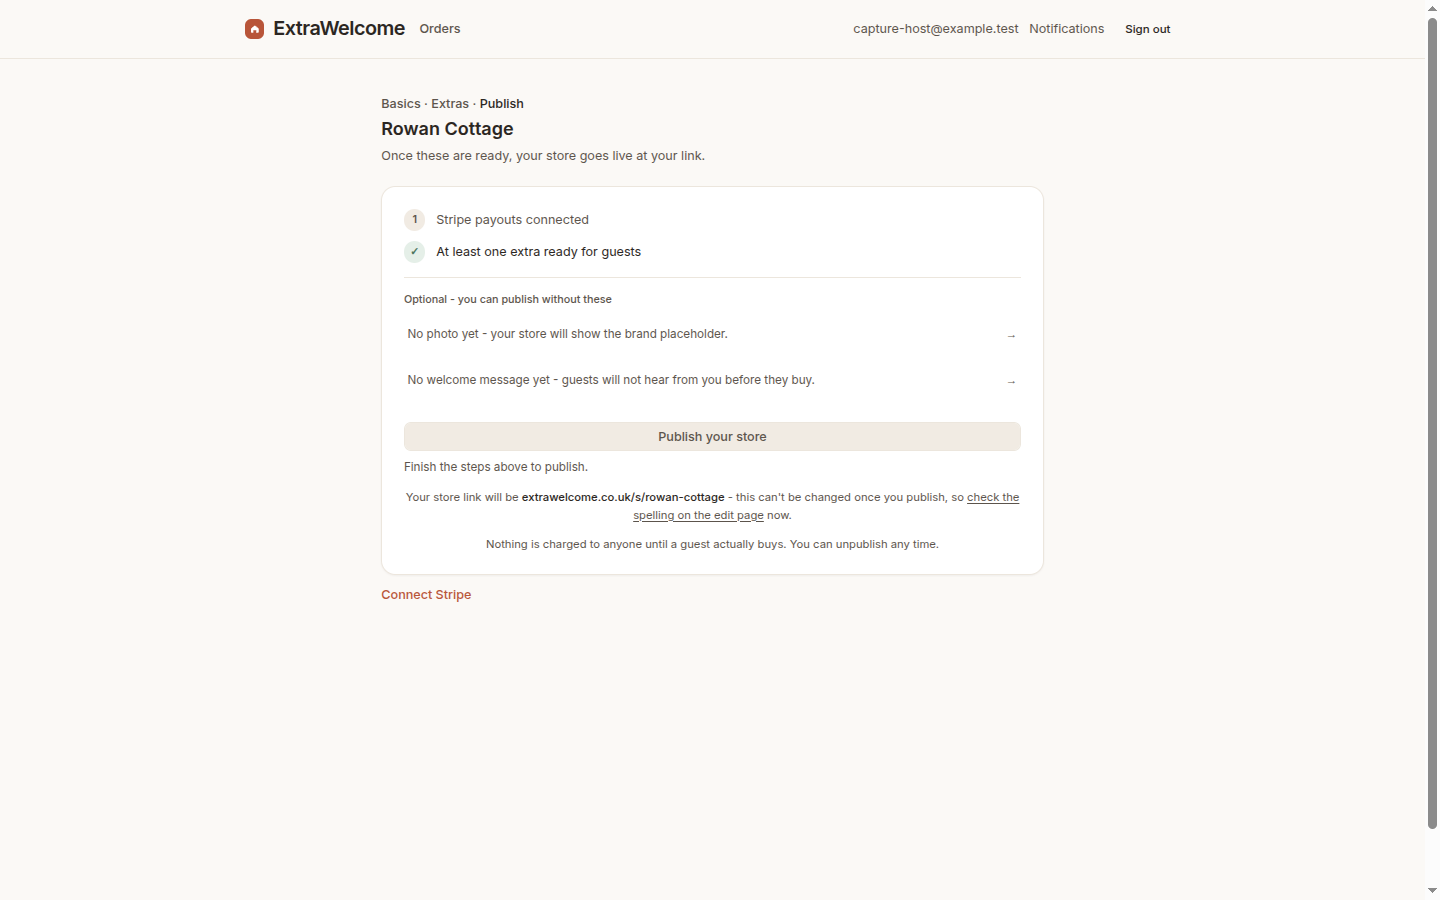
Once you are happy with your extras, publish your store. Open your own store link on your phone to see exactly what your guests will see.
6. Share the link
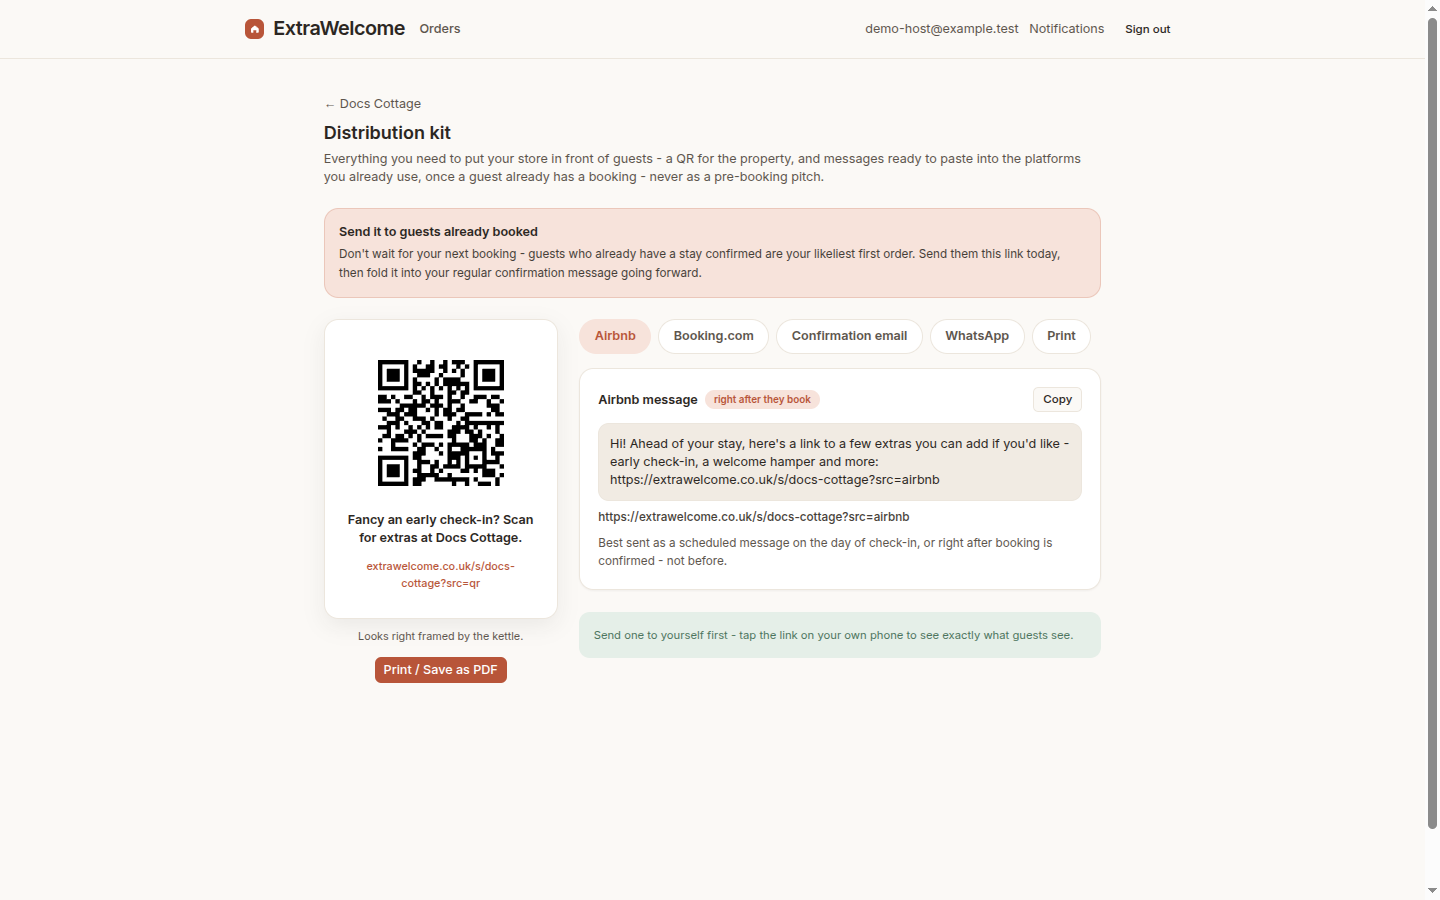
Your dashboard's share kit has ready-made messages for Airbnb, Booking.com, email and a printable QR poster - each one links back to your store with the right slug and a bit of tracking so you can see what is working. See the share guides for the full walkthrough of each channel.
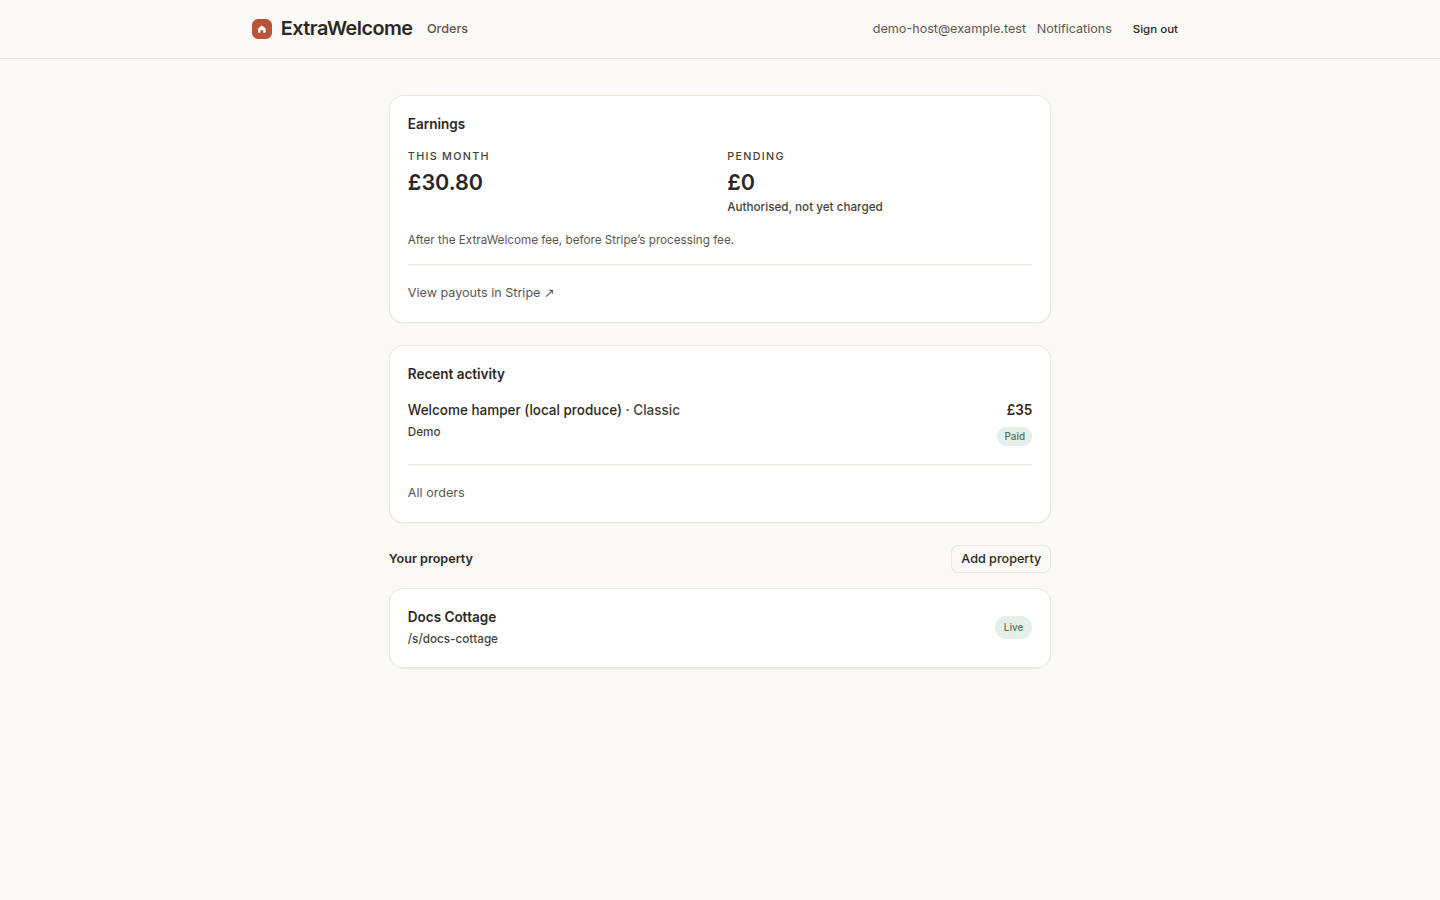
7. Your first order
When a guest buys something instant, it is confirmed straight away - you will get an email, and it shows up in your orders list. When a guest buys something that needs your approval, their card is authorised but not charged; you get an email asking you to approve or decline, and nothing is charged until you say yes. See the payments FAQ for exactly how approval extras work, and Airbnb, Booking.com and QR/email guides for getting your link in front of guests in the first place.